Melting chocolate is simple once you separate three different jobs: turning the cocoa butter liquid, keeping water out, and deciding whether the finished chocolate has to be tempered. Moisture and uneven heating are two common causes of trouble. Temperature, time, and the particular chocolate all matter.
That distinction matters because seized and scorched chocolate look alike in the bowl and could not be more different in the fix. Water makes the suspended particles clump. Prolonged or uneven heat burns the sugar, milk solids, and cocoa particles. A seized bowl can usually be carried forward as a sauce or ganache; a burnt one goes in the trash.
What Actually Melts in Chocolate
The fat phase melts: chiefly cocoa butter, together with milk fat or other fats present in the formulation. At normal chocolate-melting temperatures, sugar and nonfat cocoa particles remain suspended solids. Melting the fat releases this concentrated suspension; it does not dissolve every ingredient. Thermal measurements of milk, white, and dark chocolate show why the fat blend influences melting behavior.
Cocoa butter is polymorphic: it can crystallize in different forms, conventionally described as six. Tempering aims for a suitable population of Form V crystals, associated with good gloss, snap, and mold release. Form V is commonly described as melting around 32–34°C (90–93°F), but a finished chocolate has a melting range influenced by its composition and processing. That range helps explain its melt-in-the-mouth texture; it is not a precise switch shared by every bar.
For kitchen melting, four temperature landmarks are worth knowing:
- As chocolate warms through its melting range, progressively more crystals melt. A single bulk thermometer reading does not reveal exactly how many useful seed crystals remain.
- Around 40–45°C (104–113°F), many chocolates are fluid enough for ordinary recipe use. Stop when the chocolate is smooth and adequately fluid unless the recipe or manufacturer specifies another target.
- A full tempering melt-out follows the product’s curve. For example, Valrhona’s seeding guidance starts dark chocolate at 50–55°C (122–131°F) and milk chocolate at 45–50°C (113–122°F). Other products and methods use different targets.
- 50°C is a process target, not a burn threshold. Scorching is a function of chocolate type, contact time, and agitation — and above all of whether one patch of the bowl is far hotter than the spot you put the thermometer.
That last point is where most people go wrong. They read “50°C” as a cliff edge and panic at 46°C while the real damage is happening unmeasured against the side of the bowl.
Milk and white chocolate deserve especially gentle handling because they contain heat-sensitive milk solids. Their recommended melting temperatures are often lower than those for dark chocolate. White chocolate also makes browning easier to see. Use the product’s temperature guidance together with short intervals and thorough stirring.
Three Reliable Ways to Melt Chocolate
Every good melting method has the same virtue — it gives you frequent chances to stir and to stop. A microwave is convenient for small batches, a bain-marie provides indirect heat, and residual heat can finish the melt after the bowl leaves the heat source. None removes the need to watch the chocolate.
Microwave vs. Bain-Marie vs. Residual Heat
Each method works when the bowl stays dry and the chocolate is stirred before it looks fully melted.
Microwave
- Control
- High in short bursts
- Speed
- Usually quick
- Main risk
- Hot spots
- Use a dry microwave-safe bowl and 50% power
- Try 20-second bursts, shorter for small amounts or a powerful microwave; stir each time
- Drop to 10–15 second bursts as the chocolate softens
- Stop with a few visible pieces and stir until smooth off the heat
Bain-Marie (double boiler)
- Control
- Steady
- Speed
- Moderate
- Main risk
- Steam / water
- Keep an inch or two of water at a bare simmer, not a rolling boil
- Set a dry heatproof bowl above the water without letting its base touch
- Stir continuously and remove the bowl while a few pieces remain
- Never cover the bowl; condensation can drip into the chocolate
Residual Heat
- Control
- Off-heat finish
- Speed
- Moderate
- Main risk
- Impatience
- Heat about two-thirds of the chocolate until fluid
- Remove it from the heat before adding the remaining third
- Stir until the remaining pieces melt; use brief gentle reheating if necessary
- Use clean, dry chocolate; adding pieces does not by itself confirm a proper temper
For everyday recipes, the microwave at half power is usually the easiest method. For milk and white chocolate, shorten the intervals and rely heavily on stirring.
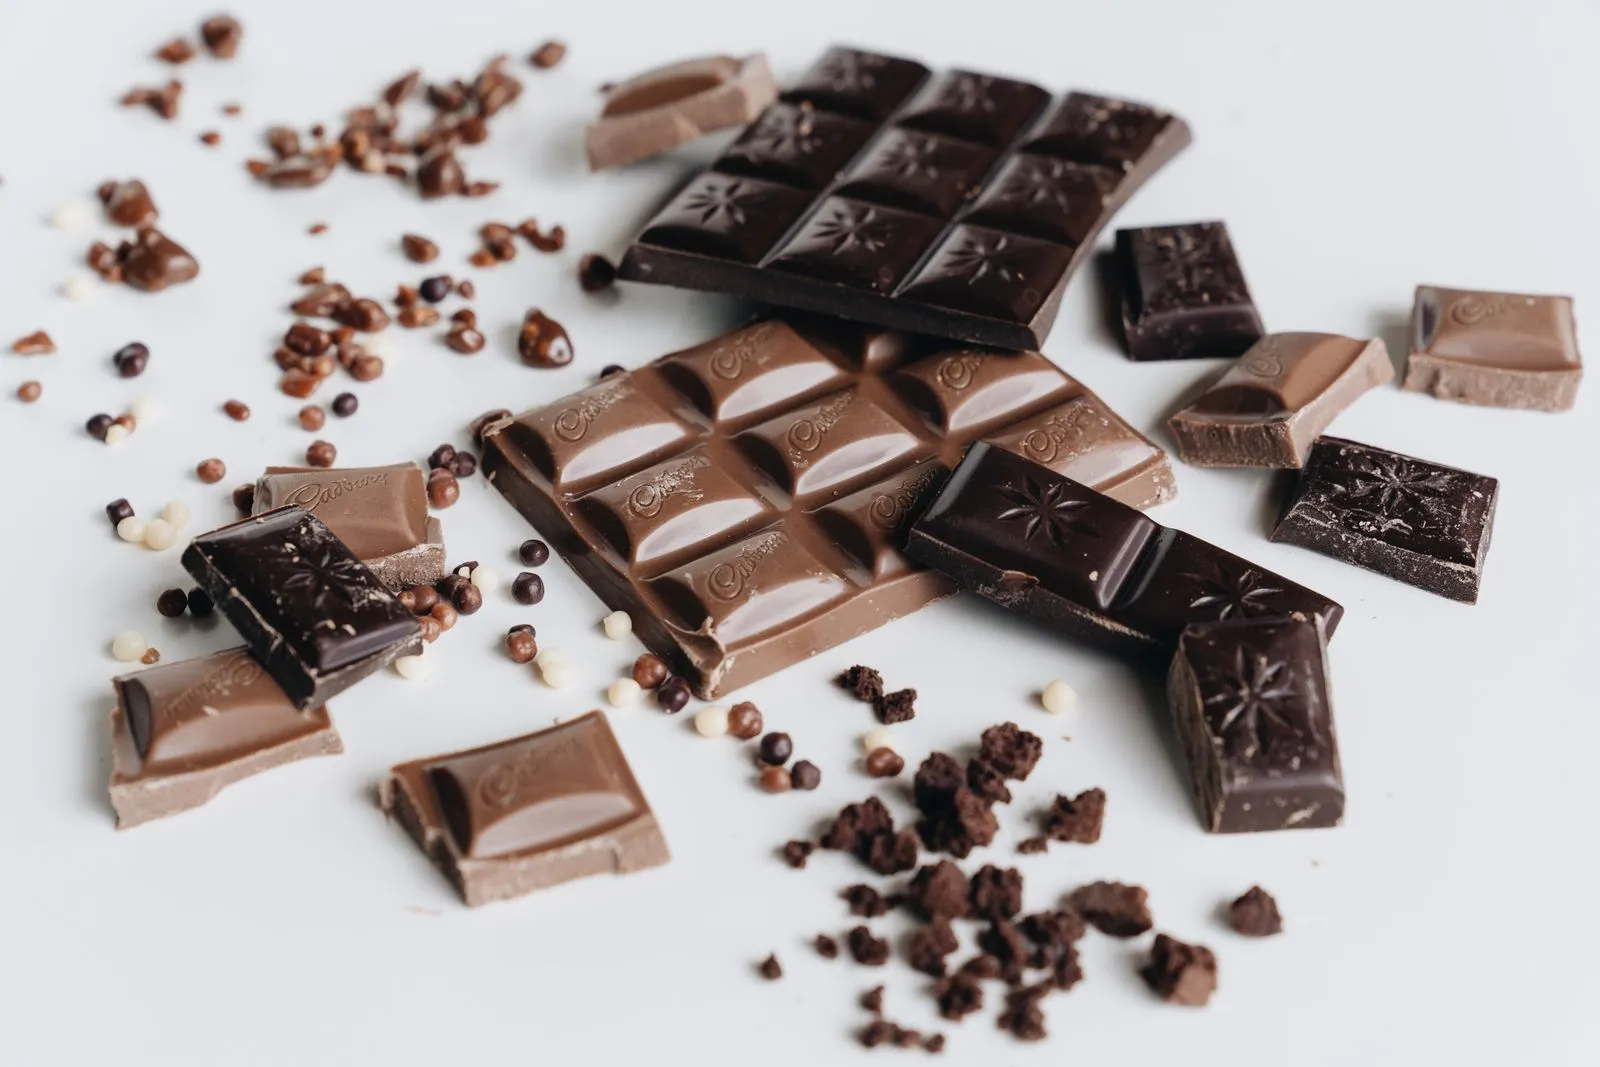
jayarrchocolate.comChop bars into pieces of similar size before you begin. A board of large chunks surrounded by fine shavings forces you to keep heating long after the smallest pieces have gone liquid, and that extra heating is exactly where hot spots come from. Wafers, pistoles, and callets are usually small enough to go straight into the bowl. They still need stirring and controlled heating. Ghirardelli’s melting instructions likewise recommend reduced microwave power, regular stirring, and an off-heat finish.
Seized Chocolate and Scorched Chocolate Are Different Failures
Diagnose before you decide whether the bowl is salvageable. A sudden stiff paste after a splash suggests moisture; a burnt aroma suggests heat damage. Timing is a clue, not a conclusive test. Chocolate can also thicken because it has cooled and crystallized or because its formulation has low fluidity.
Seized vs. Scorched Chocolate
| Property | 01Seized (moisture) | 02Scorched (excess heat) |
|---|---|---|
| Trigger | A small amount of water or steam | A hot spot or prolonged contact with excessive heat |
| How it looks | Suddenly thick, grainy, and dull | Thick or grainy, often with dark flecks |
| Best clue | Changed almost immediately | Smells acrid, burnt, or unusually cooked |
| Recoverable? | Often, as a sauce or ganache | Not if it tastes or smells burnt |
| Prevention | Dry tools; no splashes or condensation | Short heat intervals; frequent stirring; stop early |
Bulk temperature alone cannot prove scorching because the chocolate touching the vessel may be much hotter than the center.
jayarrchocolate.comThe water mechanism runs backwards from intuition. Melted chocolate is dry particles dispersed in fat, so a few stray drops of water land on the sugar and dissolve only its surfaces — just enough to turn each particle sticky and glue the whole mass into a paste. The amount needed to cause trouble varies with composition and existing moisture, so a fixed percentage is not a dependable kitchen threshold. Enough additional liquid can instead produce a smooth sauce or emulsion, as demonstrated in King Arthur’s chocolate-and-water guidance.
That is the logic behind the rescue: seized chocolate is fixed with more liquid, added warm and gradually, until the bowl becomes a sauce, glaze, or ganache. What it will never do again is temper into a bar — you have permanently changed its composition. The seized chocolate guide explains the rescue and its limits. Once you add liquid, follow the resulting sauce or ganache recipe’s storage guidance; it no longer has a plain bar’s storage properties.
Melting and Tempering Are Separate Operations
A bowl can melt flawlessly and still set dull, soft, and streaky, because melting and tempering are two different operations. A tempered bar contains useful seed crystals. A full melt-out removes those seeds; controlled partial melting can leave enough to preserve temper. For example, Callebaut’s microwave method uses brief heating and a final stir with a few pieces still present. Following a suitable method and testing the set are more informative than assuming every visibly fluid bowl is either tempered or untempered.
Without adequate pre-crystallization, chocolate can set unevenly, release poorly from a mold, or develop fat bloom. The outcome depends on the chocolate and cooling conditions; these are possible defects, not an inevitable sequence for every batch.
Use this rule:
- Plain melting is enough for ganache, batter, sauce, fondue, hot chocolate, and other uses that stay fluid or are mixed with substantial liquid.
- A proper temper matters when cocoa-butter chocolate must set into a glossy shell with clean snap and good mold release, as with bars, bark, molded pieces, and dipped confections. Compound coatings use different fats; follow their package instructions.
If the finish matters, follow the how to temper chocolate guide and the chocolate maker’s curve. A full melt-out requires establishing temper again; a controlled partial-melt method aims to retain useful seeds.
How to Make Melted Chocolate Thinner
For cocoa-butter chocolate, cocoa butter is a compatible way to adjust fluidity. First confirm that the chocolate is evenly warm and check whether cooling or excess crystallization is causing the thickness. If you are working with tempered chocolate, gentle warming must stay within that product’s working guidance; fully melting it again would remove the temper.
- Add cocoa butter in small increments. It is the fat already present in real chocolate and improves flow without introducing water.
- Use neutral oil only for a soft drizzle or refrigerator-set coating. Oil may loosen the melt, but it also softens the final set and prevents a classic tempered snap.
- Use cream or milk only when intentionally making an emulsion. Add the full recipe quantity, not a few exploratory drops.
- Choose a more fluid chocolate when coating. Couvertures come in different fluidities, so choose one intended for thin coating. Callebaut explains how its fluidity ratings relate to application. An eating bar or baking chip may be thicker at the same temperature.
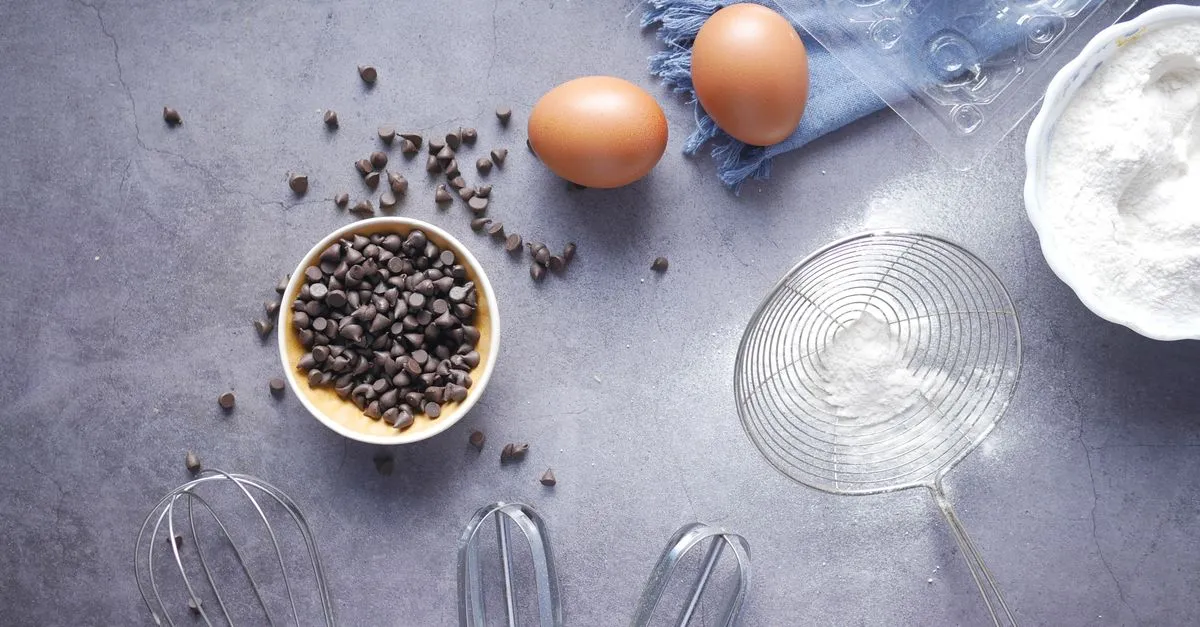
Chocolate chips are not one universal formula. Many are genuine semisweet chocolate, while dedicated bake-stable drops may contain less cocoa butter and have deliberately low fluidity; confectionery chips may use vegetable fats instead. The guide to melting chocolate chips explains how to read the label and adapt the method. If ordinary bar chocolate is unexpectedly thick, use the separate guide to fixing chocolate viscosity rather than continuing to heat it.
Key Takeaways
- Use the appropriate melting target. Many chocolates are fluid around 40–45°C; a tempering melt-out may call for more heat. Follow the product rather than one temperature for every chocolate.
- Use a dry bowl and dry tools. Steam, condensation, and damp utensils can seize chocolate.
- Heat in short intervals and stir before it looks done. Stirring distributes hot spots and reveals pieces that are already soft.
- Stop with a few pieces remaining. Carryover heat can finish the melt without another exposure to the heat source.
- Use timing and smell as clues. Moisture, heat damage, cooling, and excess crystallization can all change flow.
- Maintain or establish temper for a glossy, snappy set. Sauces, ganache, and batter generally need melting only.
- Thin with cocoa butter for the closest-to-chocolate result. Other oils change the final set.
Frequently Asked Questions
- What is the easiest way to melt chocolate?
- Use a microwave-safe bowl that is completely dry. Start with evenly chopped chocolate at 50% power in brief bursts, such as 20 seconds, stirring thoroughly each time. Use shorter bursts for small batches, powerful microwaves, and near the end. Stop while a few pieces remain and stir until carryover heat melts them. This method is fast, avoids steam, and gives you frequent chances to stop.
- Can I melt chocolate at full microwave power?
- You can, but half power is more forgiving because microwave energy creates uneven hot spots. At full power, hot spots may overheat while visible pieces still look solid. If your microwave cannot reduce power, use 10–15 second bursts and stir very thoroughly after each one.
- What temperature should chocolate be melted to?
- For ordinary recipe use, many chocolates become uniformly fluid around 40–45°C. A tempering melt-out should follow the maker's curve; Valrhona, for example, gives 50–55°C for dark chocolate in its seeding method. There is no universal temperature at which every chocolate scorches; formulation, time, agitation, and local vessel temperature all matter.
- Do I add anything while melting chocolate?
- Usually no. Real chocolate melts on its own. Add cocoa butter only when you need more fluidity, and use neutral oil only when a softer set is acceptable. Cream, milk, or water belong in recipes that use enough liquid to form a sauce or emulsion; adding only a few drops can seize the chocolate.
- Why did my melted chocolate turn thick and grainy?
- A sudden change after a splash suggests moisture seizing; add enough liquid if you can repurpose it as a sauce or ganache. A burnt smell suggests heat damage. Thickness alone is not diagnostic: cooling, excess crystallization, or a low-fluidity formulation can also make chocolate thick.
- Why is my chocolate dull and soft after it sets?
- A full melt-out removes the useful seed crystals that support its original set. Without a suitable temper and cooling conditions, it may set dull or soft or later bloom. Establish temper again after a full melt-out, or use a controlled partial-melt method that retains seeds, when gloss, snap, and mold release matter.
- Can I remelt chocolate more than once?
- Yes, provided it has not burned, absorbed water, or picked up crumbs and fillings. Repeated heating can gradually degrade flavor if you hold it hot for long periods, so remelt gently, stir often, and store leftover clean chocolate dry and well covered between uses.