Start with the chocolate and method you are actually using. A working temperature copied from another bar can be a poor target, and a warm room can delay a test sample even when the bowl’s temperature is correct. Diagnose the symptom before restarting the entire batch.
What Failed?
Soft or slow to set: Too few suitable crystals are one possibility; an overly warm test environment or thick sample can also delay setting. A fixed three-minute limit cannot distinguish these causes.
Firm with a smooth pale film: Fat bloom can result from inadequate temper, warm storage, temperature cycling, or fats migrating from a filling. A film that softens under a warm fingertip supports this diagnosis, but is not a laboratory test.
Rough or gritty pale surface: Moisture may have dissolved surface sugar, which then recrystallized as sugar bloom. Callebaut’s bloom guide distinguishes these surface clues and stresses avoiding condensation.
Streaks: Uneven mixing or cooling can leave an uneven finish; later temperature changes can also produce streaks. Compare a freshly tempered sample with one held under the suspect storage conditions.
Thick while you work: The chocolate may be too cool or have accumulated excess crystals. If it was thick before tempering, formulation and particle size may be involved. Thickness alone does not identify either failed temper or a two-ingredient recipe.
Waxy or unusually soft: Check the fat ingredients, coating thickness, and storage history. Appearance or mouthfeel alone cannot establish that a particular crystal form, such as Form VI, dominates.
1. Follow One Product’s Working Curve
A tempering curve specifies the heating, cooling, and working stages for a chocolate and method. Do not average stages from unrelated protocols.
For example, Valrhona’s published guide gives dark chocolate a working range of 31–32°C (about 88–90°F), with lower working ranges for milk and white chocolate. Its initial melt temperatures also differ by type. Other manufacturers publish different curves; Blommer’s chart is one example. The product instructions take priority over a generic category chart.
Check: Stir thoroughly before measuring so a cool surface or warm spot does not mislead you. Keep the probe in the chocolate without resting it on a hot bowl. Watch the actual temperature after reheating.
Adjust: If the mass is a little too cool, warm gently within the method’s range. If overheating melted too much of the seed population, re-seed at the proper stage or fully melt and restart. An overshoot is a reason to test, not proof that every crystal instantly disappeared.
2. Check the Seed
For a seeding method, use well-tempered plain chocolate suited to the batch. Soft, bloomed, or previously melted chocolate is not a dependable seed source.
Seed amount, particle size, mixing, bowl temperature, and addition temperature all affect the process. Seed melting quickly does not prove failure: if the melt was too hot, useful crystals may have disappeared, but finely chopped seed can also melt quickly under otherwise suitable conditions. Likewise, a few remaining pieces do not certify adequate temper.
Follow one complete method. A recipe using one part solid seed with three parts melted chocolate has seed equal to 25% of the final batch, or 33.3% of the starting melted portion. Those denominators describe the same ratio; neither is a universal required dose. Test the result before molding.
3. Separate Cooling Conditions From Crystal Stability
A warm room slows heat loss from chocolate and makes a smear test harder to interpret. It does not mean that Form V suddenly cannot exist above 23°C (73°F). Working chocolate is warmer than that, and the rate at which a sample sets depends on thickness, surface temperature, and its crystal population.
Use a cool, dry, stable work area. For example, Valrhona’s molded-chocolate guidance recommends an 18–20°C (64–68°F) setting environment. Treat that as a useful product-guidance example, not a universal upper safety or melting limit.
If the room is too warm, improve the environment and repeat the test before declaring the batch ruined. Avoid condensation and uneven strong drafts. A household refrigerator is colder and often less controlled than a chocolate cooling cabinet; protect finished chocolate during temperature changes so moisture does not condense on it.
4. Is the Chocolate Overcrystallized?
Tempered chocolate can become progressively thicker even when held at its working temperature. The crystal population continues to grow. Too much seed or too much time can therefore make molding difficult without meaning the chocolate lacks stable crystals.
Callebaut’s remedy for overcrystallization is to melt some excess crystals with careful warming or blend in untempered melted chocolate. Stir thoroughly, stay within the method’s controls, and test again. Do not solve every thickening episode by adding cocoa butter; that also changes the recipe.
5. Has Moisture Caused Seizing?
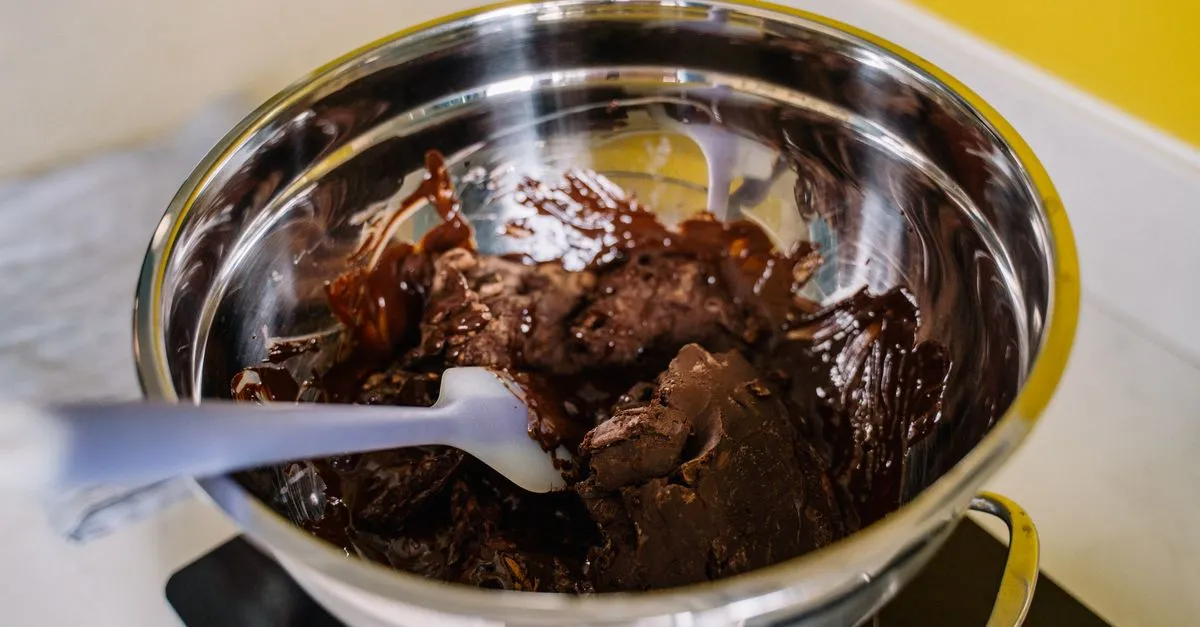
Water can create syrupy bridges between dry particles, turning fluid chocolate into a thick, clumpy paste. This is different from a simple shortage of tempering crystals. The effect depends on the amount of water and the recipe; the useful precaution is to keep bowls, tools, and ingredients dry and prevent steam or condensation entering the batch.
Do not keep adding good chocolate in the hope of reliably restoring a seized batch for shells or bars. King Arthur demonstrates that enough additional liquid can smooth seized chocolate, but the result is suitable for another application, such as a sauce or filling, not ordinary tempered chocolate. Use an appropriate recipe and storage instructions for that new food.
Our seized chocolate guide covers the distinction between a small accidental splash and an intentional liquid-containing mixture.
6. Two-Ingredient Chocolate Is a Formula, Not a Separate Law
Nib-and-sugar chocolate gets its fat from the nibs. That can affect flow, but ingredient count alone does not establish total fat, difficulty, or a narrow working-temperature window.
For example, if nibs contain 53% fat, a recipe of 70% nibs and 30% sugar contains about 37.1% fat. Another chocolate with added butter could have more or less total fat, depending on the amount of nibs, sugar, milk, and butter. Use actual ingredient specifications when possible.
Particle size and moisture also influence viscosity, as shown in research on chocolate flow. Lecithin is not a general “buffer” that guarantees easier crystallization. If your own chocolate has no supplied curve, use a documented method appropriate to the formulation, keep careful temperature notes, and test small batches. Do not assume every two-ingredient dark chocolate must work at 85.5–87°F.
A Controlled Restart
Restart when the diagnosis points to an inadequate or uncertain crystal population:
- Use a clean, completely dry bowl and plain chocolate that has not been scorched or contaminated.
- Melt according to the manufacturer’s method, stirring to remove cool pockets. A universal 118–120°F minimum is inappropriate for every chocolate and technique.
- Follow that method’s cooling and seeding stages, including its seed amount and addition temperature.
- Bring the mixture to its specified working range with stirring.
- Check a thin smear in suitable conditions before molding the rest.
Callebaut’s method overview emphasizes using the curve and testing the finished precrystallization. A failed temper often can be corrected by remelting and repeating the process. That does not make repeated heating harmless without limit: scorching, moisture, and flavor changes are separate problems a new temper cannot repair.
The Smear Test
Spread a thin film on a clean, dry knife, spoon, or parchment and leave it in the cool test area while continuing to tend the bowl. Look for an even, firm set without streaking or persistent tackiness. King Arthur’s semisweet method gives about 3–5 minutes at normal room temperature. Sample thickness and conditions matter, so do not turn three minutes into a universal deadline.
A smear is a practical screen, not a precise measurement of crystal form or concentration. If uncertain, compare another thin sample after correcting the suspected cause. A thick molded bar takes longer to cool than the test film.
Quick Reference
| Symptom | Check | Next step |
|---|---|---|
| Smear remains soft | Product curve, seed, sample thickness, room | Correct conditions and repeat the test; re-seed or restart if needed |
| Chocolate thickens during work | Cooling or excess crystal growth | Warm carefully or use the method’s overcrystallization remedy |
| Sudden clumpy paste | Moisture entry | Redirect to an appropriate liquid-containing recipe |
| Smooth pale film | Temper, storage heat, filling fats | Compare a freshly tempered plain sample |
| Rough, grainy pale surface | Condensation or humidity | Prevent moisture during storage and temperature changes |
| Streaks | Mixing, cooling, storage cycling | Test under steady conditions |
For the full protocol, see our how to temper chocolate guide and its interactive temper curve. For changes after setting, see fat bloom and sugar bloom prevention. For crystal behavior, see cocoa butter chemistry and polymorphism.
Tempering Troubleshooting
Slow Set
- Use the actual product's curve
- Control sample thickness and cooling conditions
- Three minutes is not a universal failure threshold
Thick During Work
- Check temperature and excess crystals
- Correct gently and re-test
- Ingredient count alone does not diagnose the cause
Moisture or Bloom
- Clumping after water entry differs from lost temper
- Smooth pale film can suggest fat bloom
- Rough pale deposits can suggest sugar bloom
Restart When Needed
- Follow the product's full method
- Protect against scorching and moisture
- Test before filling molds
Frequently Asked Questions
- Is soft chocolate after three minutes always out of temper?
- No. Cooling conditions and sample thickness affect the test. A thin smear should set evenly under the conditions specified by your method. If it remains soft, investigate the curve, seed, and environment together.
- Can I save a failed temper?
- Often. Slight cooling or excess crystals may need a small controlled adjustment. If too much seed melted, re-seed appropriately or restart from the full method. Scorched or moisture-contaminated chocolate is a separate problem.
- Does a room above 23°C destroy Form V crystals?
- No. A warmer room slows setting and complicates a test, but that temperature is not a universal Form V stability limit. A cool, dry, steady environment makes results easier to judge.
- What if water gets into the chocolate?
- It can clump the particles and cause seizing. Adding enough liquid may make a smooth sauce or filling, but that does not restore ordinary tempered bar chocolate. Follow the new recipe's storage requirements.
- Must two-ingredient chocolate use a lower working range?
- Not universally. Composition, cocoa-butter properties, and process matter. Use guidance appropriate to the actual chocolate, and check a sample instead of assigning a curve from ingredient count alone.
- What does the smear test show?
- It screens for an even, firm set under controlled conditions. It does not precisely identify crystal forms or prove long-term stability. Compare thin samples and watch for streaks or tackiness.