Scope note: This is a desk-researched home technique guide, not a validated commercial shelf-life protocol or a JayArr side-by-side test. Chocolate, inclusion, equipment, packaging, and storage conditions vary, so use manufacturer guidance and small pilot batches.
Adding a crisp nut, freeze-dried fruit, or cacao nib is not just a flavor decision. It creates a boundary between materials with different water, fat, and temperature behavior.
This guide covers the practical mechanics of adding inclusions to bean-to-bar chocolate: what works, what does not, and why the rules exist.
What Counts as an Inclusion
An inclusion is any solid addition to a finished chocolate bar — nuts, dried fruit, cacao nibs, salt crystals, spices, coffee beans, puffed rice, cookie pieces, candy. The term specifically excludes ingredients that dissolve into the chocolate mass during refining, like sugar or milk powder.
The distinction matters because inclusions sit within the tempered chocolate matrix rather than becoming part of it. Each inclusion creates an interface between two materials with different moisture content, fat composition, and thermal behavior. Managing those interfaces is what this guide is about.
The Moisture Rule
Chocolate and water are incompatible during melting and molding. Even a small amount of water can sharply increase yield value — the force required to get chocolate flowing — and can dissolve sugar at the wet interface before it recrystallizes into a rough, grainy texture.
Tools and inclusion surfaces must be dry. This excludes fresh fruit and other visibly moist ingredients from a room-temperature bar using this home method. Moisture content and water activity are different measurements, so do not assume that further home dehydration creates a shelf-stable ingredient; use commercially prepared dry inclusions or obtain formula-specific validation.
Common moisture traps:
- Freeze-dried fruit that has reabsorbed ambient humidity
- Nuts that were rinsed and not thoroughly dried
- Salt from a container left open in a humid kitchen
- Candied peel that feels dry on the surface but retains moisture internally
Fat Migration: The Silent Killer of Shelf Life
When a fat-containing inclusion — a nut, a piece of cookie with butter, a caramel filling — sits inside tempered chocolate, two fat phases are in contact. Over time, softer fats from the inclusion migrate into the chocolate shell. This disrupts the Form V crystal structure that tempering created, triggering fat bloom: a white or grey powdery coating on the surface.
This is the same mechanism that can cause bloom in pralines and filled bonbons. Soft nut fats can migrate through the chocolate shell during storage. Warm conditions and temperature cycling accelerate the change by disrupting the intended cocoa-butter crystal structure.
Prevention strategies:
- Roast or toast all nuts before inclusion. This reduces moisture and modifies the fat structure.
- Store finished bars at a stable, cool room temperature within the chocolate maker’s guidance, away from heat and temperature cycling.
- Use a slightly thicker chocolate shell around high-fat inclusions. More tempered chocolate means a longer diffusion path for migrating fats.
- Consider barriers. Some makers pre-coat nuts in a thin layer of tempered chocolate or cocoa butter before embedding them. The coating acts as a fat migration buffer.
Timing: When to Add Inclusions
There are two windows for adding inclusions to a bar, and they produce different results.
During Molding (The Standard Method)
Fill your mold halfway with tempered chocolate. Tap to level. Place inclusions. Cover with more tempered chocolate. Tap again to settle and remove air bubbles.
This method encases the inclusion within chocolate and can offer more protection from ambient moisture and oxygen than an exposed topping. Finished snap and keeping quality still depend on the temper, inclusion, package, and storage conditions.
The chocolate must be in proper temper when you add the inclusion — working temperature of 31 to 32 degrees Celsius for dark chocolate, 29 to 30 for milk. If the chocolate is too warm, the inclusion sinks to the bottom. If too cool, the chocolate is too viscous to flow around the inclusion and you trap air pockets.
On Top of a Filled Mold (Visible Inclusions)
Fill the mold completely with tempered chocolate. While the chocolate is still liquid, press inclusions gently into the surface from the top (which becomes the bottom of the unmolded bar). The inclusion remains partially exposed.
This method is visually striking but compromises shelf life. Exposed inclusions absorb ambient moisture and oxidize faster. Nuts go rancid sooner. Salt crystals can dissolve in humid conditions and cause localized sugar bloom when they recrystallize.
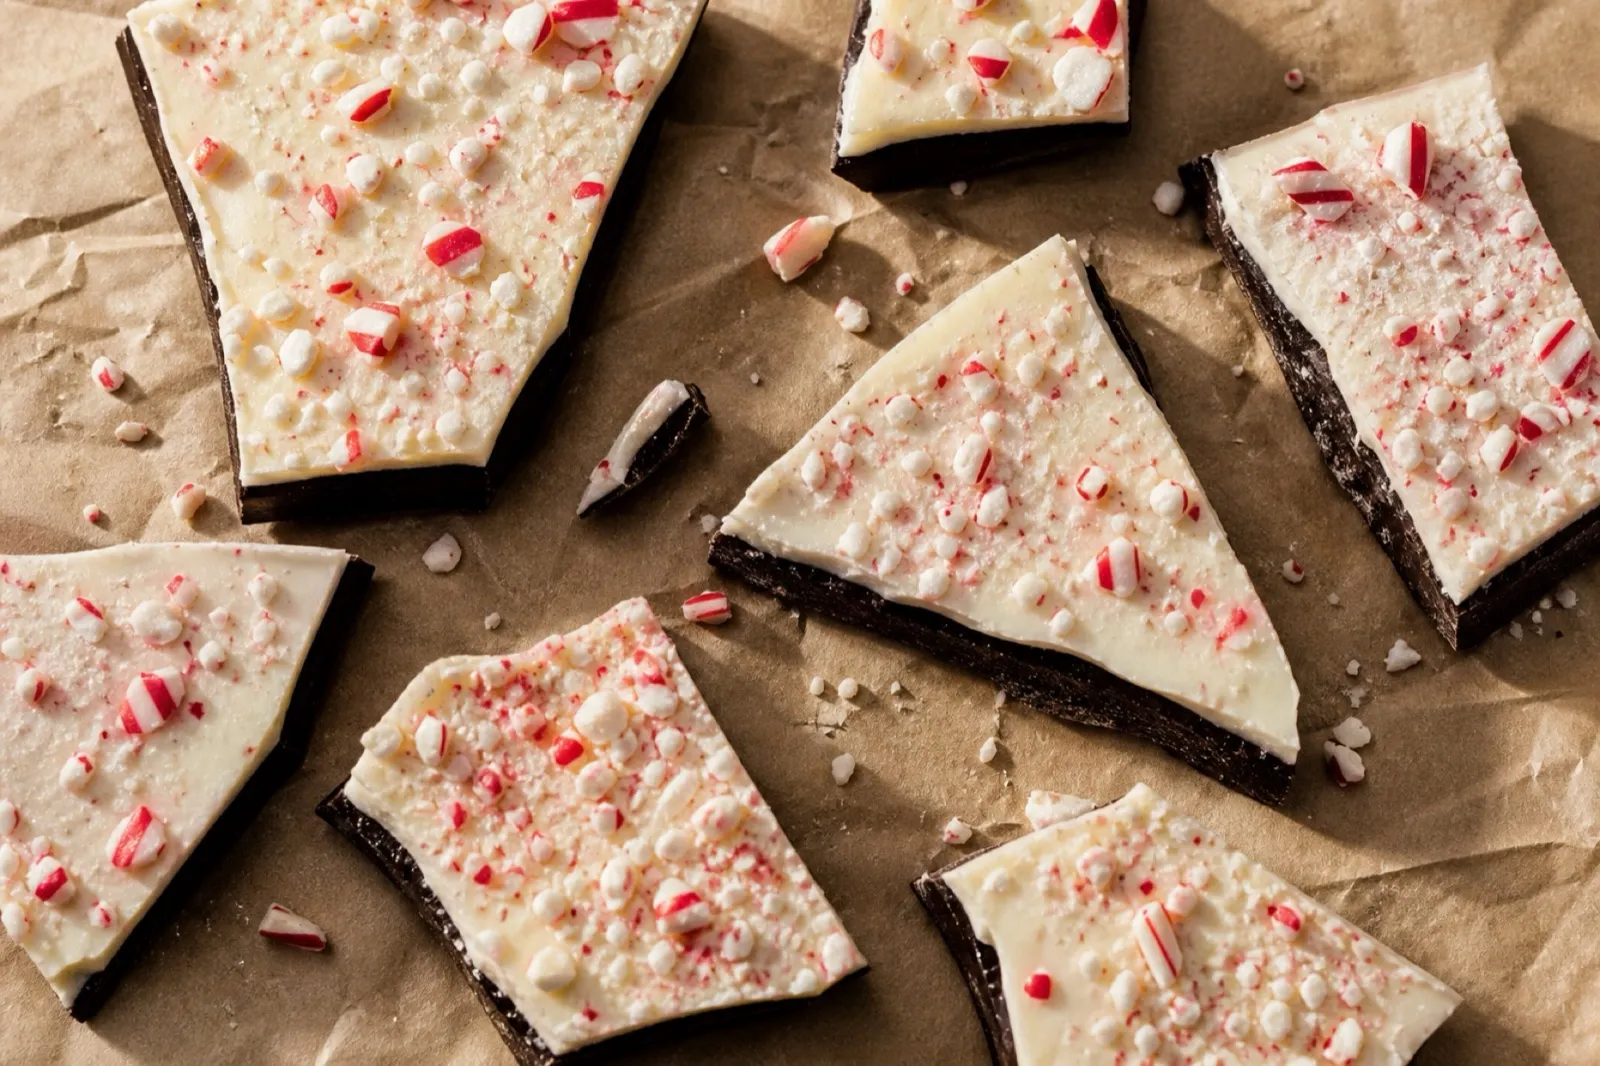
For visible-top bars, use a shorter best-quality window and store them airtight at a stable, cool room temperature when every inclusion is shelf-stable and surface-dry. Refrigerate only if the room is too warm to keep the chocolate firm or an ingredient maker requires it, then let the closed container warm before opening to avoid condensation. For the flat, surface-topped format and a conservative home storage framework, use the chocolate bark master method.
Specific Inclusion Types
Nuts
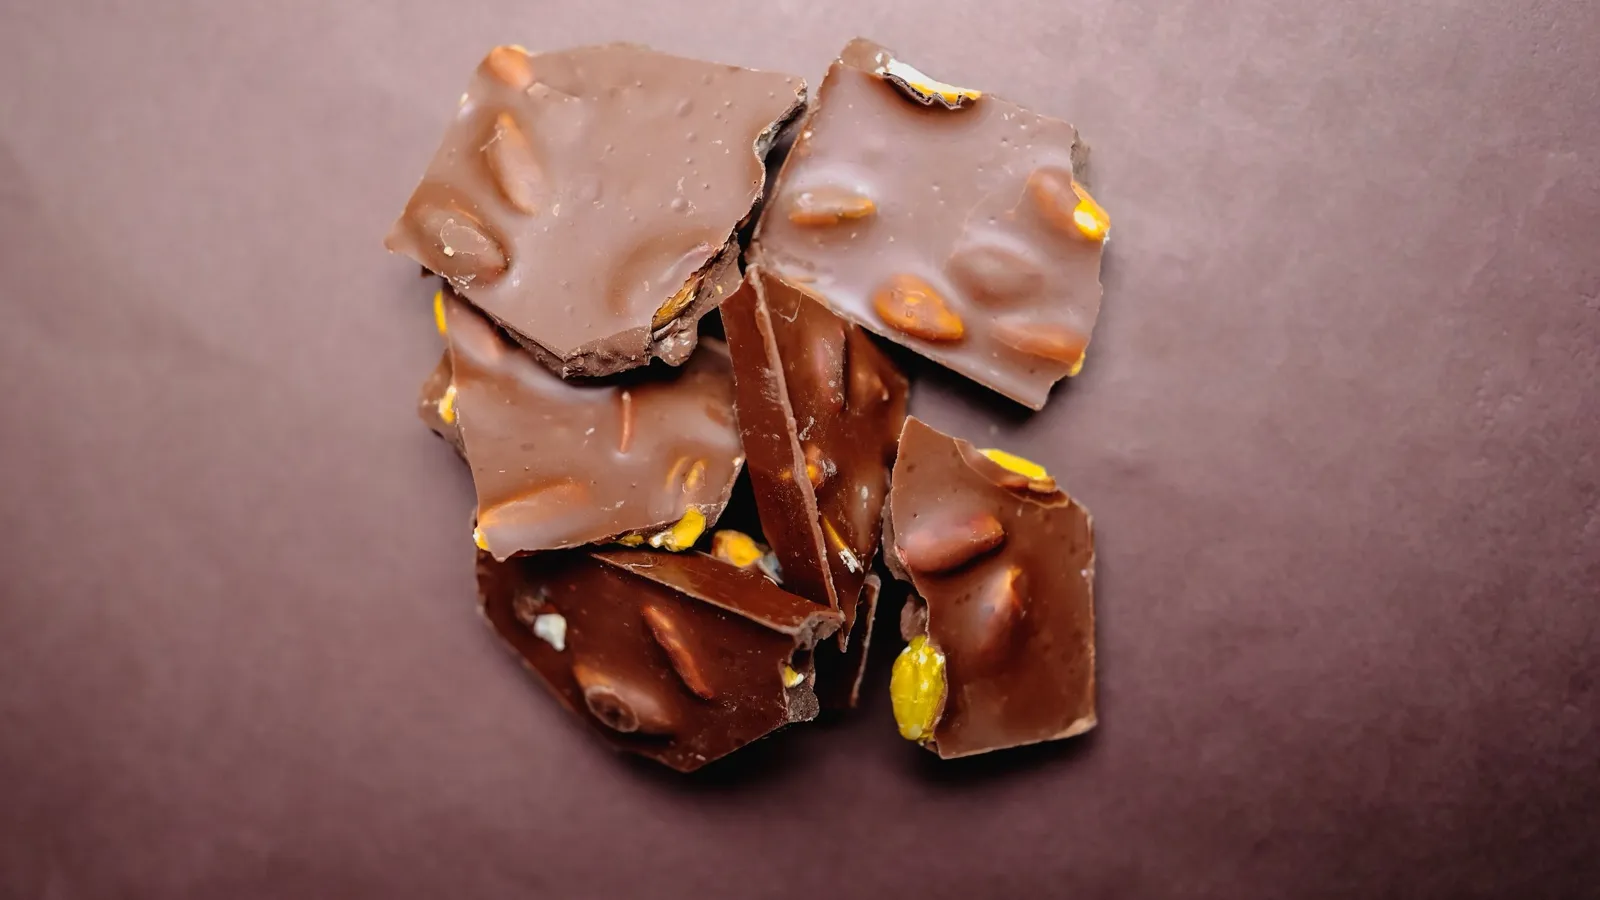
Almonds, hazelnuts, pistachios, pecans, and macadamias all work well. Cashews and peanuts have higher fat mobility and bloom faster.
Toast all nuts before use. This accomplishes three things: it drives off residual moisture, develops flavor through Maillard reactions (the same amino acid plus sugar chemistry that makes roasted cacao beans taste like chocolate), and partially denatures proteins that would otherwise bind moisture from the air.
Toast according to the nut and your oven, then cool completely before adding it to chocolate. A nut that is still warm can pull tempered chocolate out of its working range.
Chop to a consistent size. Irregular chunks create uneven snap and inconsistent mouthfeel. For standard bars, pieces of roughly 5 to 8 millimeters work well — large enough to identify by taste, small enough not to crack the bar when you break it.
Cacao Nibs
Nibs are the purest inclusion for a bean-to-bar maker because they are just roasted, cracked cacao — the same starting material as the chocolate itself. They add crunch, bitterness, and textural contrast without introducing foreign fats.
Use nibs from the same origin as your bar for coherence, or deliberately cross origins for contrast. A Madagascar bar with Tanzania nibs introduces the Tanzanian melon note against Madagascar’s berry acidity.
Nibs are already low moisture and shelf-stable. No additional preparation is needed beyond ensuring they are free of husk fragments.
Dried Fruit
Cherries, cranberries, blueberries, and mango are the most common. Raisins work but their flavor can be indistinct against dark chocolate.
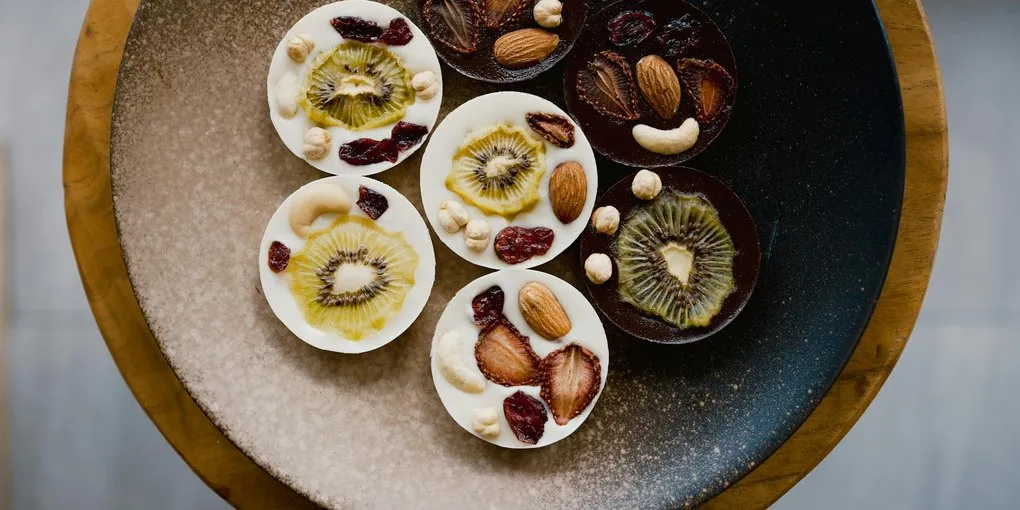
Freeze-dried fruit produces the best results. It is extremely low moisture, crunchy, and intensely flavored. Conventionally dried fruit (like standard dried cranberries) often has added sugar and oil, which introduce variables you do not control.
Cut or break large pieces to 5 to 8 millimeters. Dust off any residual powder — loose particles cloud the chocolate surface.
Salt
Flaky sea salt (Maldon, fleur de sel) produces the best visual and textural result. Fine-grain salt dissolves too quickly and can create moisture pockets in humid conditions.
Place salt crystals on top of the bar rather than mixing into the chocolate mass. Salt within the mass dissolves microscopically at the crystal-chocolate interface and can trigger localized sugar bloom.
Use restraint. Two to four crystals per bar section is usually enough. Salt amplifies bitterness and acidity in dark chocolate — the effect is stronger than you expect.
Spices
Ground spices (chili, cinnamon, cardamom, ginger) can be added to the melanger during the last hour of refining. This distributes them evenly throughout the mass and reduces them to particle sizes below the grittiness threshold of approximately 30 microns.
Adding spices as visible inclusions rather than refining them in produces a different effect: bursts of concentrated flavor rather than even distribution. Cinnamon stick fragments, whole pink peppercorns, and candied ginger pieces all work this way.
Chili perception can change as capsaicin disperses through the fat phase during storage. Make a small pilot and taste it again after resting before scaling or labeling the intensity.
Coffee
Whole roasted coffee beans, coarsely crushed espresso, or coffee nibs all work. Coffee is low moisture and high in its own fat phase, so it integrates well.
The flavor pairing is natural — both chocolate and coffee develop character through Maillard reactions during roasting, and they share several key flavor compounds including pyrazines and furanones.
Use coffee that is fresh by the roaster’s guidance and tastes clean before it goes into the batch. Stale coffee can taste papery and flat, and that carries directly into the chocolate.
Formulation Adjustments
Inclusions change the effective cacao percentage of a bar. A 70% dark chocolate bar at 100 grams that includes 15 grams of almonds is no longer 70% cacao in the eating experience — the almonds dilute the chocolate intensity.
As the inclusion load rises, the chocolate flavor becomes less dominant. If that matters for the intended profile, compare a small pilot made with the current base against one made with a slightly higher-percentage chocolate rather than applying a universal correction.
A small addition of cocoa butter can improve flow around large or irregular inclusions during molding, but the appropriate amount depends on the chocolate and equipment. Follow the chocolate maker’s formulation guidance and test a small batch before changing a full formula.
Storage and Shelf Life
Plain tempered chocolate can retain quality longer than an inclusion bar when it is kept cool, dry, dark, and at a stable temperature. The inclusion, its preparation, whether it is embedded or exposed, package barrier, room humidity, and temperature cycling all change the result. This home guide does not measure water activity or validate a universal calendar.
Use qualitative gates instead of promising a fixed month count:
- Nibs, dry spices, and salt: keep them dry and follow the earliest ingredient best-by date; aroma or surface quality may decline first.
- Toasted nuts: make smaller batches, store airtight, and watch for rancid aroma or fat migration.
- Freeze-dried fruit: minimize time in humid air and reseal promptly; discard pieces that have softened or picked up moisture before molding.
- Conventional dried fruit: carries more available moisture than freeze-dried fruit and needs a formula-specific quality and safety assessment.
Vacuum sealing can reduce oxygen and moisture exposure, but it does not validate or automatically extend a specific shelf-life date. Exposed toppings generally have less protection than inclusions fully embedded in chocolate; for a short, conservative home-quality framework for visible-top bark, use the chocolate bark master method. If you sell bars, obtain appropriate water-activity and shelf-life validation rather than copying a home estimate.
Common Mistakes
Adding inclusions to chocolate that is out of temper. Working ranges vary by chocolate, so follow the maker’s curve and confirm with a temper test. Inclusions added to out-of-temper chocolate can end up in a dull, soft, bloom-prone matrix regardless of their own quality.
Using inclusions that are too large. A whole almond in a thin bar creates a stress point. The bar cracks at the inclusion rather than breaking cleanly at the intended score line.
Skipping the tap. After adding inclusions and the cover layer, tap the mold until visible air bubbles stop rising. The exact count depends on the mold, viscosity, and inclusion geometry; the goal is to move chocolate into gaps without knocking the temper out of range.
Overloading the bar. As inclusion load rises, it becomes harder for chocolate to form a continuous matrix around the pieces. Snap, molding, and keeping quality can all suffer. Increase the load in small pilots rather than treating one percentage as a universal cutoff.
Inclusions should complement the chocolate, not compete with it. Start simple — a single type per bar — and let the origin character of your chocolate remain the lead voice.
Chocolate Inclusions: Quick Reference
Cacao Nibs
- Prep: Remove any husk fragments
- Method: Embedded or top
- Storage gate: Keep dry; follow ingredient date
- Risk: Husk fragments
Toasted Nuts
- Prep: Toast; cool completely; chop 5–8mm
- Method: Embedded preferred
- Storage gate: Small batches; check aroma
- Risk: Rancidity and fat migration
Freeze-Dried Fruit
- Prep: Break to 5–8mm; dust off powder
- Method: Embedded preferred
- Storage gate: Minimize humidity exposure
- Risk: Moisture reabsorption
Flaky Sea Salt
- Prep: Keep dry
- Method: Top only
- Storage gate: Stable low humidity
- Risk: Dissolves in humidity and can mark the surface
Ground Spices
- Prep: Add late in refining
- Method: Refined into mass
- Storage gate: Follow ingredient date; monitor aroma
- Risk: Flavor changes over time
Coffee Beans/Nibs
- Prep: Use fresh coffee; crush coarsely
- Method: Embedded or top
- Storage gate: Make small batches
- Risk: Stale coffee tastes papery
These are qualitative home-quality gates, not validated commercial shelf-life determinations. Keep inclusion bars cool, dry, dark, and at a stable temperature.
jayarrchocolate.comFrequently Asked Questions
- What is the biggest risk when adding inclusions to chocolate?
- Moisture is the biggest risk. Even a small amount of water can sharply increase chocolate viscosity and cause seizing. Tools and inclusion surfaces must be dry before contact with tempered chocolate. Dried fruit, nuts, and salt should be checked for surface moisture, and freeze-dried fruit should not be used after it has softened from ambient humidity.
- Why do nuts cause white spots on chocolate bars over time?
- Nuts contain soft fats that can migrate through the chocolate during storage. This can disrupt the intended cocoa-butter crystal structure and appear as a white or grey coating called fat bloom. Warm conditions and temperature cycling accelerate the change, so keep the bars cool and at a stable temperature within the chocolate maker's guidance.
- When should I add inclusions — during molding or on top?
- An inclusion sandwiched between chocolate layers generally has more protection from air and ambient humidity than one exposed on top. Visible-top bars can be striking, but use a shorter quality window and the storage guidance in the chocolate bark method. Commercial products still need formula-specific validation regardless of placement.
- Can I add fresh fruit to chocolate?
- Not in a room-temperature bar using this home method. Fresh fruit introduces enough moisture to disrupt chocolate texture and creates a separate shelf-life problem. Use freeze-dried fruit that is still crisp instead. Conventionally dried fruit can work in some formulas, but its moisture and water activity vary, so it needs a formula-specific quality and safety assessment.
- How much inclusion is too much in a chocolate bar?
- There is no universal cutoff. Piece size, shape, chocolate viscosity, mold depth, and desired snap all matter. Increase the load through small pilot batches and stop when the chocolate no longer forms a continuous shell around the pieces or releases cleanly from the mold.
- Should I adjust my chocolate recipe when making inclusion bars?
- Sometimes. Inclusions dilute cacao intensity and can obstruct flow. Compare small pilots with the current base and a slightly higher-percentage chocolate if flavor feels muted. If viscosity is the problem, follow the chocolate maker's guidance before adding cocoa butter rather than applying a universal dose.
- How long do chocolate bars with inclusions last?
- There is no universal home number. Inclusion type and preparation, water activity, fat migration, exposed versus embedded placement, package barrier, humidity, and temperature cycling all matter. Follow the earliest ingredient best-by date, make small batches, and use a shorter window for exposed toppings. Vacuum sealing can reduce exposure but does not validate a date; commercial products need appropriate shelf-life testing.