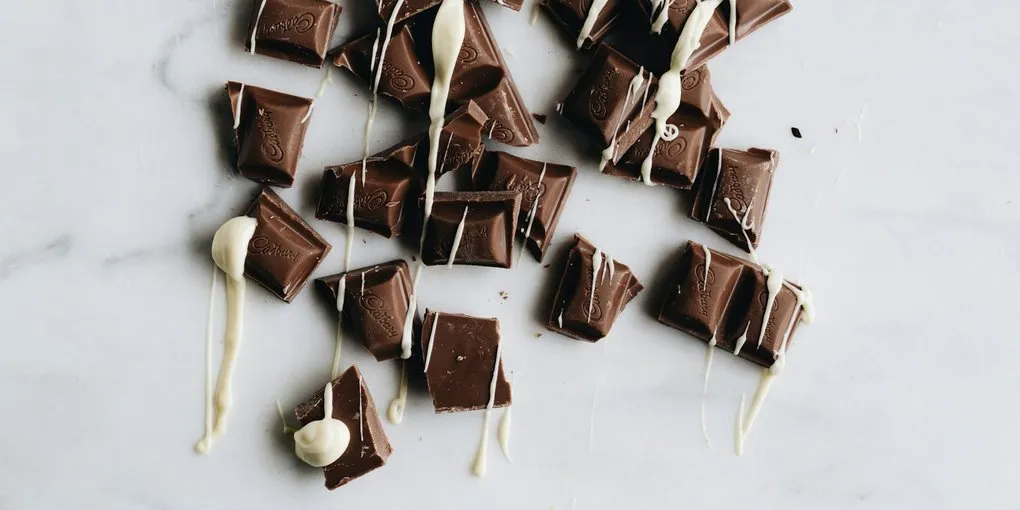
Milk chocolate is harder to make well than dark chocolate. That statement surprises most people, because milk chocolate is what they grew up eating and dark chocolate carries the reputation for sophistication. But the craft challenge is real: milk solids are heat-sensitive, milk fat softens your crystal structure, and the window between caramelized and burnt is narrower than most home makers expect.
This guide walks through the complete process of making milk chocolate in a home melanger, from choosing your milk powder to tempering the finished product.
Why Milk Chocolate Is Different
Dark chocolate is essentially two ingredients: cocoa nibs and sugar. Milk chocolate adds a third variable — milk solids — and that changes everything downstream.
Milk fat is softer than cocoa butter. When milk solids enter the fat phase of your chocolate, the overall melting profile shifts lower. This is why milk chocolate has a different tempering curve: you cool to 26 to 27 degrees Celsius instead of 27 to 28 for dark, and your working temperature drops to 29 to 30 degrees Celsius instead of 31 to 32.
Milk proteins are reactive. The same Maillard reactions that turn amino acids and sugars into chocolate flavor during roasting also occur between milk proteins and sugars during conching — but in milk chocolate, too much heat produces a scorched, unpleasant caramelized note rather than the clean milkiness you want.
This is why conching temperature is critical. Industrial milk chocolate conching runs at 45 to 55 degrees Celsius. Dark chocolate conches at 60 to 80 degrees Celsius. Exceeding 55 degrees with milk chocolate degrades the milky, dairy character that is the entire point.
Choosing Your Milk Powder
The type of milk powder you use is the single biggest flavor decision in milk chocolate making after the cacao itself.
Whole Milk Powder (Standard)
Contains approximately 26 to 28% milk fat. This is the starting point for most craft milk chocolate. It produces a straightforward creamy, milky flavor with moderate richness. Widely available and predictable.
Skim Milk Powder
Virtually no milk fat. Using skim powder gives you more control because you can add cocoa butter separately to adjust texture without adding dairy fat. The flavor is cleaner and less rich — some makers prefer this as a base and adjust fat content with cocoa butter.
Spray-Dried vs. Roller-Dried
Spray-dried milk powder produces a cleaner, less caramelized flavor. Roller-dried milk powder has more cooked, toffee-like caramelized notes because the drying process exposes milk to higher temperatures for longer.
This distinction matters more than most recipes acknowledge. British-style milk chocolate (the Cadbury profile) gets its distinctive toffee character not from a different recipe but from the milk crumb method — fresh liquid milk, sugar, and cocoa liquor co-dried together, producing intense Maillard reactions between milk proteins and sugars. You cannot replicate that flavor with spray-dried powder. If you want that direction, roller-dried powder gets you closer.
Formulation
A workable starting formula for craft milk chocolate:
| Ingredient | Percentage |
|---|---|
| Cocoa nibs | 40% |
| Sugar | 35% |
| Whole milk powder | 20% |
| Cocoa butter (added) | 5% |
This produces a milk chocolate with enough cocoa character to taste like chocolate — not just sweetened milk — while delivering the creamy, smooth mouthfeel that defines the category.
The EU minimum for milk chocolate is 25% total cocoa solids and 14% milk solids. The formula above meets both. The FDA minimum is 10% chocolate liquor.
Adjusting the Ratio
- For mild milkiness: Use 5 to 10% milk powder. This produces what some makers call “dark milk” — a bar that reads as dark chocolate with a dairy softness.
- For very creamy milk chocolate: Push milk powder up to 20%. Beyond 20%, the milk flavor dominates and the cacao origin character fades significantly.
- Milk powder at 14% to 16% is the range where most successful craft milk chocolates land — enough creaminess to register clearly, enough cocoa to maintain complexity.
The Sugar Calculation
Use the same logic as dark chocolate formulation. Total must equal 100%. If your nibs are 40%, milk powder is 20%, and cocoa butter is 5%, then sugar is 35%.
The Process
Step 1: Roast Your Beans
Follow your standard roasting protocol. For milk chocolate, some makers roast slightly lighter than they would for dark — a few degrees lower on the end-of-roast temperature — to preserve more fruity and floral notes that complement milk rather than competing with it. An EOR of 248 to 256 degrees Fahrenheit is a reasonable starting range.
Step 2: Crack and Winnow
No difference from dark chocolate. Target less than 2% husk by weight.
Step 3: Load the Melanger
Add nibs first. Run for 20 to 30 minutes until a rough paste forms. Then add sugar gradually — not all at once. Adding sugar appears to “freeze” the current flavor state of the chocolate, so the nibs should be well-ground before sugar introduction.
Step 4: Add Milk Powder
Add milk powder after the sugar has been incorporated and the mass is flowing smoothly — typically 2 to 4 hours into refining.
Add it gradually. Milk powder is hygroscopic and clumps easily. Dump it all in at once and you get lumps that take hours to break down. Add in three or four portions over 30 minutes.
Step 5: Add Cocoa Butter
Add cocoa butter — approximately 5 grams per kilogram of chocolate, or per your formulation — at the beginning of the process or when you add the milk powder. Adding cocoa butter reduces viscosity and improves mouthfeel. In milk chocolate, the added fat also helps distribute milk solids more evenly.
Step 6: Refine and Conch
Total melanger time: 18 to 30 hours.
Temperature management is critical here. Monitor your melanger temperature. Melangers generate heat from friction — a fully loaded Spectra 11 or Premier can reach 55 to 60 degrees Celsius during extended runs. For milk chocolate, you want to keep the mass below 55 degrees Celsius.
If your melanger runs hot:
- Run with the lid off to vent heat (this also accelerates acid removal during conching)
- Point a small fan at the melanger bowl
- Run in a cooler room if possible
Flavor check at 8 hours. The chocolate should taste recognizably like milk chocolate — creamy, sweet, with cocoa backing. If it tastes scorched or excessively caramelized at this point, your temperature has been too high.
Step 7: Temper
Milk chocolate tempers at lower temperatures than dark because milk fat softens the overall fat phase.
| Step | Temperature |
|---|---|
| Melt out | 50 degrees Celsius (122 degrees Fahrenheit) |
| Cool to | 26 to 27 degrees Celsius (79 to 81 degrees Fahrenheit) |
| Working temperature | 29 to 30 degrees Celsius (84 to 86 degrees Fahrenheit) |
Use the seed method: cool your melted chocolate to 27 degrees Celsius, then add finely chopped tempered milk chocolate (about 1 part seed to 3 parts melted) and stir until fully incorporated and the temperature stabilizes at 29 to 30 degrees Celsius.
The spoon test still works: dip a clean spoon, and the chocolate should set to a firm finish within 3 minutes with an even sheen.
Step 8: Mold
Pour into polycarbonate molds, tap firmly to remove air bubbles, and let set at room temperature. Milk chocolate contracts slightly less than dark during setting, so unmolding may require a bit more patience. Properly tempered milk chocolate will still release cleanly.
Troubleshooting Milk Chocolate
Too sweet, not enough chocolate character. Your cocoa percentage is too low. Increase nibs to 45 to 50% and reduce sugar proportionally. This moves you into “dark milk” territory, which many craft makers and consumers prefer.
Scorched or excessively caramelized flavor. Conching temperature exceeded 55 degrees Celsius. There is no fix for a scorched batch. Prevent this by monitoring melanger temperature and venting heat.
Grainy texture. Milk powder particles have not refined below 30 microns. This can take longer than cocoa nibs because milk powder is sticky. Extend refining time — milk chocolate often needs the full 24 to 30 hours.
Chocolate is too thick for molding. Milk solids increase viscosity because they add non-fat surface area. Add cocoa butter in small increments (5 grams per kilogram) or add soy lecithin at 0.01 to 0.05% — well below the 0.5% maximum recommended for craft chocolate. Above 0.5 to 0.6%, yield value actually increases rather than decreases.
Bloom appears quickly. Milk fat accelerates fat bloom. Ensure your temper is correct (use the lower temperature curve above), store bars below 18 degrees Celsius, and avoid temperature cycling.
Origin Pairing for Milk Chocolate
Not all origins work equally well in milk chocolate. The dairy component competes with the more delicate origin notes, so you want beans with strong, distinct character.
Strong pairings:
- Madagascar — the berry acidity cuts through milk sweetness, creating a bright, fruity milk chocolate
- Tanzania — the natural honey and dairy notes of Tanzanian cacao complement milk powder rather than fighting it
- Ecuador — the floral Arriba signature can add jasmine and violet notes to a milk bar when the cocoa percentage stays above 40%
Weaker pairings:
- Subtle, nutty origins where the distinguishing notes are quiet enough that milk overwhelms them
- Very smoky origins (like some PNG beans) where smoke and milk create an odd combination
The Dark Milk Option
Dark milk chocolate — typically 50 to 60% cocoa with 10 to 15% milk powder — has become one of the most popular categories in craft chocolate. It splits the difference: enough cocoa to preserve origin character and complexity, enough milk to round edges and add creaminess.
If you are making milk chocolate for the first time, consider starting with a dark milk formula (50% nibs, 30% sugar, 15% milk powder, 5% cocoa butter). It is more forgiving than traditional milk chocolate percentages and produces a bar that showcases your bean quality rather than burying it.
Frequently Asked Questions
- What temperature should I conch milk chocolate at?
- Keep milk chocolate below 55 degrees Celsius during conching. Industrial milk chocolate conches at 45–55 degrees Celsius, compared to 60–80 degrees Celsius for dark chocolate. Exceeding 55 degrees degrades the milky, dairy character by over-caramelizing milk proteins. If your melanger runs hot, vent the lid, use a fan, or run in a cooler room.
- What is the best milk powder for making chocolate?
- Whole milk powder (26–28% milk fat) is the standard starting point for craft milk chocolate. Spray-dried powder produces a cleaner, less caramelized flavor; roller-dried powder has more cooked, toffee-like notes. For British-style caramelized character, roller-dried gets closer. For clean, milky flavor, spray-dried is preferred.
- Why does milk chocolate temper at lower temperatures than dark?
- Milk fat is softer than cocoa butter and lowers the overall melting profile of the fat phase. Dark chocolate works at 31–32 degrees Celsius; milk chocolate works at 29–30 degrees Celsius, with a cooling target of 26–27 degrees Celsius instead of 27–28. Using dark chocolate temperatures for milk chocolate will result in over-tempered bars with poor texture.
- What is dark milk chocolate?
- Dark milk chocolate typically has 50–60% cocoa with 10–15% milk powder. It preserves origin character and complexity while adding dairy creaminess. It is more forgiving to make than traditional milk chocolate and has become one of the most popular categories in craft chocolate.
- How much milk powder should I use?
- 5–10% for mild milkiness (dark milk), 14–16% for balanced milk chocolate, and up to 20% for very creamy milk chocolate. The EU requires a minimum of 14% milk solids for the milk chocolate designation. Beyond 20%, milk flavor dominates and cacao origin character fades significantly.
- Why is my milk chocolate grainy?
- Milk powder particles have not been refined below the 30-micron grittiness threshold. Milk powder is sticky and can take longer to break down than cocoa nibs. Extend refining time to 24–30 hours in the melanger. Adding milk powder gradually rather than all at once also helps prevent stubborn lumps.
- Can I use milk alternatives like oat or coconut milk powder?
- Plant-based milk powders can substitute for dairy but introduce different fat profiles and flavors. Coconut milk powder has a strong flavor that competes with cacao. Oat milk powder is milder. The main concern is moisture — plant-based powders vary in moisture content, and even small amounts of water can spike viscosity. Verify moisture levels and test in small batches first.