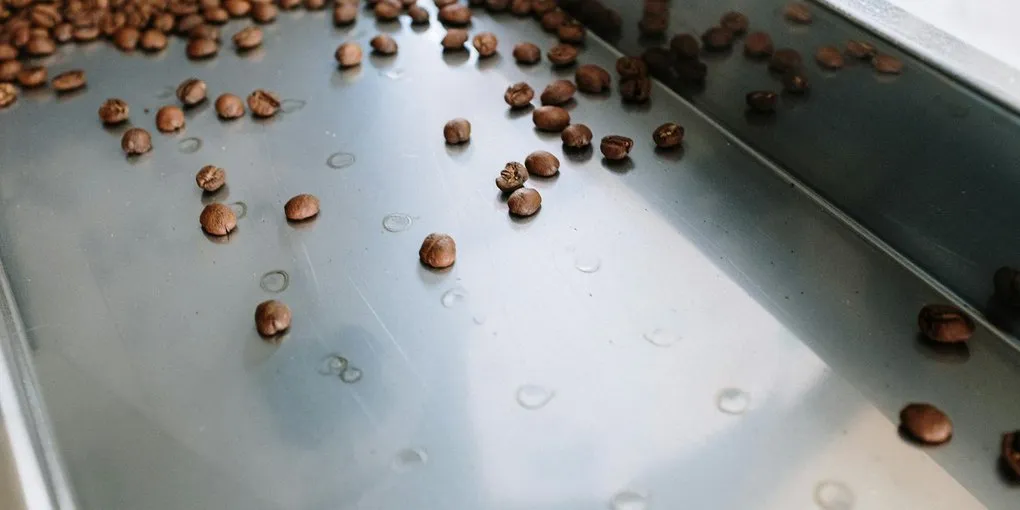
To roast cacao beans at home, use a Behmor 2000AB on P1 profile targeting 254 to 262°F end-of-roast bean temperature, or a home oven preheated to 325°F for approximately 30 minutes. Nanci’s three-phase system — drying, development, and finishing — provides the most precise framework. The primary stop cue is always aroma: stop when you detect a harsh or acrid smell.
Why Roasting Cacao Is Different from Coffee
Cacao and coffee are both roasted seeds, but their heat responses differ in ways that matter for home roasting. Cacao has significantly more fat content — 50 to 57% cocoa butter by weight versus essentially zero fat in green coffee. This fat heats and burns differently, requiring more careful temperature management.
Cacao also arrives at the roaster with a larger flavor investment already made. While coffee develops nearly all its flavor during roasting, cacao fermentation has already built substantial flavor precursors. The roaster’s job is to develop those precursors efficiently without burning the fat or destroying the origin character.
The result is that cacao generally roasts at lower temperatures and shorter times than coffee. The three-phase framework gives you a systematic way to apply heat correctly.
The Three Phases: A Working Framework
Phase 1 — Drying: Temperature range: Ambient to 212°F bean temperature. Duration: 8 to 20 minutes. What is happening: Moisture removal only. The Maillard reaction initiates at around 100°C, but the rate is negligible at these temperatures. You are simply preparing the bean for the chemistry that follows. How to manage it: Do not rush. A minimum of 8 minutes in this phase ensures uniform moisture reduction. Too-fast drying creates a case-hardened exterior that cracks differently and may roast unevenly.
Phase 2 — Development: Temperature range: 212°F to 232°F bean temperature. Duration: 2.5 to 5 minutes. What is happening: Flavor precursors built during fermentation — particularly the free amino acids from protein hydrolysis — begin transforming. The Maillard reaction accelerates. Volatile acids begin evaporating. The aroma shifts from damp-grain to emerging chocolate. How to manage it: Rate of temperature rise through this phase controls flavor character. Faster (2.5 to 3.5 minutes) emphasizes fruit and bright chocolate notes. Slower (5 minutes or more) reduces acidity and astringency. Adjust based on what you want from the finished bar and what the origin needs.
Phase 3 — Finishing: Temperature range: 232°F to end of roast. Target EOR: 245 to 270°F bean temperature. Rate: 5 to 6°F per minute. Duration: 3 to 6 minutes. What is happening: Maillard reactions at full rate. Strecker degradation producing pyrazines, aldehydes, and furans — the core cocoa flavor compounds. Acetic acid (boiling point 244.6°F) being driven off. Remaining astringency and bitterness being reduced. Primary stop cue: Aroma. Stop immediately when you detect a harsh, acrid, or slightly burnt smell.
Roasting on the Behmor 2000AB
Set the Behmor to P1 — the only profile for cacao. Select the weight option closest to your actual load. For beginners, load 1 to 1.5 lbs (60 to 70% of the 2 to 2.5 lb maximum) for better control.
The Behmor measures chamber temperature, not bean temperature. The relationship between the two depends on load size and ambient temperature. Experienced users develop correction factors from calibration batches. Until you have that data, use time and aroma as your primary guides.
Typical timeline for a 1.5 lb batch on P1:
- Minutes 1 to 12: Phase 1 (drying). Beans smell like damp grain or hay.
- Minutes 12 to 15: Phase 2 (development). Aroma shifts to emerging chocolate/cocoa.
- Minutes 15 to 20: Phase 3 (finishing). Full chocolate aroma. Watch for the acrid-smell cutoff.
- Stop when acrid smell appears or at the 18 to 21 minute mark if using time as a secondary indicator.
Roasting in a Home Oven
Oven roasting works but is less controlled than a drum roaster.
Setup: Preheat oven to 325°F for at least 20 minutes. Use an oven thermometer to verify actual temperature — home oven thermostats can be off by 25°F or more.
Loading: Spread 1 kg of beans in a single layer on sheet trays. Do not crowd them — overlapping beans cause uneven roasting.
Process: Roast approximately 30 minutes total. Stir every 10 minutes to rotate beans from edges to center and improve evenness.
Stopping: Use aroma as the primary cue. When the aroma transitions from pleasant chocolate to slightly harsh, remove immediately. Spread on a cool surface to stop carryover roasting.
Limitations: Temperature variation across oven zones, difficulty using aroma cues through a closed oven door, and chaff dispersal into oven heating elements are the main problems. For occasional use, oven roasting produces adequate results. For regular production, the Behmor is a worthwhile upgrade.
Recording and Replicating Profiles
Use Nanci’s profile notation: “10/8/6 @ 256°F” means Phase 1 took 10 minutes, Phase 2 took 8 minutes, Phase 3 took 6 minutes, end-of-roast was 256°F. For oven roasting where bean temperature is unmeasured, use time notation only: “10 min drying / 8 min development / 12 min finish.”
Keep a log for every batch. Include: origin, lot/harvest year, load weight, profile notation, aroma notes at key moments, and taste assessment after making chocolate. Over 5 to 10 batches of the same origin, patterns emerge about what roast profile produces the flavor you want.
Developing a Profile for a New Origin
Dandelion Chocolate’s search space method is the systematic approach:
- Roast three batches at different stopping points: at first pop (audible cracking), 2 minutes before first pop, 2 minutes after first pop.
- Make chocolate from each batch using identical post-roast processing.
- Blind taste test on a -2 to +2 scale.
- Identify the preferred range and roast 2 to 3 more batches within it.
- Repeat until you have converged on a profile.
Expect 9 to 16 total test batches to find the optimal profile for a new origin. This process seems intensive but the investment pays off in every batch afterward.
Post-Roast: Resting and Cracking
After roasting, spread beans on a clean surface and allow to cool completely. Rest a minimum of 6 hours before cracking — ideally overnight. Fresh-roasted beans are brittle and shell-bonded in a way that prevents clean cracking.
This resting period is not just practical. Volatile compounds continue evolving in the warm bean after the roaster stops. Rushing to crack immediately sacrifices some of this post-roast development.
Flavor Problems That Trace to Roasting
Vinegary/acidic finished chocolate: Roast temperature did not reach 244.6°F (acetic acid boiling point). Extend Phase 3 to a higher EOR temperature, or extend conching time.
Flat, non-chocolate flavor: May be under-fermentation (check beans with cut test), or Phase 2 was too short. Extend development phase.
Metallic off-note: Too-fast ramp in Phase 3. Slow the finishing phase to 5 to 6°F per minute.
Over-roasted/bitter: Phase 3 went too long past the acrid-smell cue. Trust your nose sooner next time.
For the full process that follows roasting, see our bean-to-bar beginners guide. For equipment details, see our Behmor 2000AB roasting guide. For the chemistry of what roasting does to flavor precursors, read our chocolate flavor compounds guide.
Frequently Asked Questions
- What temperature should cacao beans be roasted to?
- The end-of-roast bean temperature target is 245–270°F depending on origin and desired flavor profile. The Behmor 2000AB specific target is 254–262°F. The primary stop cue is aroma — a harsh or acrid smell means stop regardless of what the thermometer reads. Reaching at least 260°F helps drive off acetic acid (boiling point 244.6°F).
- How do I know when cacao beans are done roasting?
- The primary cue is aroma. When you detect a harsh, acrid, or slightly burnt smell from the roaster, stop immediately. Secondary cues include first pop (audible cracking from beans, similar to popcorn), the aroma shifting from developing chocolate to over-roasted, and reaching the time range for your established profile.
- Can I roast cacao beans in a home oven?
- Yes. Preheat to 325°F with an oven thermometer to verify actual temperature. Spread 1 kg of beans in a single layer on sheet trays and roast approximately 30 minutes, stirring every 10 minutes. The result is less consistent than a drum roaster due to uneven heat distribution, but the method works for learning and occasional use.
- What is the difference between a light and dark cacao roast?
- A lighter roast (lower EOR temperature, shorter Phase 3) preserves more fruity and acidic character from fermentation. A darker roast (higher EOR, longer Phase 3) builds more Maillard complexity — deeper cocoa notes, more bitterness — while reducing fruit. The right choice depends on the origin's natural character and the flavor profile you want.
- Why do I need to rest beans 6 hours after roasting?
- Fresh-roasted beans are in a brittle, shell-bonded state that prevents clean cracking. After 6 hours of rest, beans firm up to an optimal consistency for cracking. The rest period also allows continued post-roast flavor development in retained volatile compounds. Rushing to crack immediately produces more dust and less clean nib pieces.
- How many test batches does it take to develop a roast profile?
- Dandelion Chocolate's search space method typically requires 9–16 total test batches per origin. The process starts with three batches at different stopping points (first pop, 2 minutes less, 2 minutes more), taste tests each, then narrows the range in subsequent batches. The investment is significant upfront but produces an optimized, repeatable profile.